Multi-Stage Vocal Compression
Compression can make or break any vocal sound. Too much compression? Your vocal will sound unnatural. Not enough compression? The volume of your vocal will vary dramatically between different sections of your song (think verse and chorus) and sound unprofessional. Indeed, compression is a complex tool. How do you go about compressing vocals without going overboard or not compressing enough? What do you listen for? How do you know when there is enough dynamic range? We will answer all these questions and more in this post!
Before reaching for a compressor, be sure that you’ve set yourself up for success. This is a particularly important step to take if you’re working on a vocal that was not recorded with a compressor on the way in.
It’s very common for raw, uncompressed vocals to be dynamically all over the place. If the vocalist is particularly dynamic, you may even run into a situation where one word is sung really quietly and then the following word is belted. In cases like this, it’s important to modify the clip gain of the vocal to make the volume from waveform to waveform more consistent.
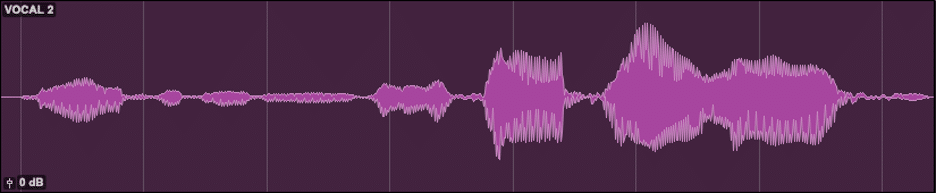
Dynamically Inconsistent Waveform
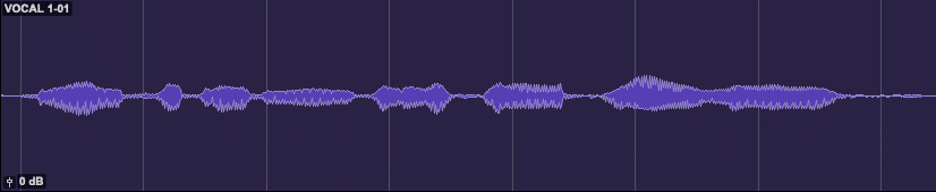
Dynamically Consistent Waveform
The main reason this is such an important step to take is because it will help the compressor have a much easier time compressing your vocal. The less dynamic inconsistencies the compressor must deal with, the better. However, make mostly broad strokes to long sections that are a lot quieter than other sections, and only make meticulous edits to extremely dynamic parts.
Compressor 1: Overall Level Control
In this post, we’ll be using a two-compressor workflow as an example. Using two compressors isn’t always necessary, especially if you’re working on a vocal that’s already been compressed to some degree but using two compressors for an uncompressed vocal will usually make your life a lot easier.
With the first compressor in your chain, try using the fast attack time alongside a long release time. After that, set your threshold so that your vocal is being compressed at least a little bit any time it comes in. These settings will force your vocal’s overall level to become a bit more consistent without adding too much movement or character, which will allow the next compressor in the chain to have an easier time processing the vocal!
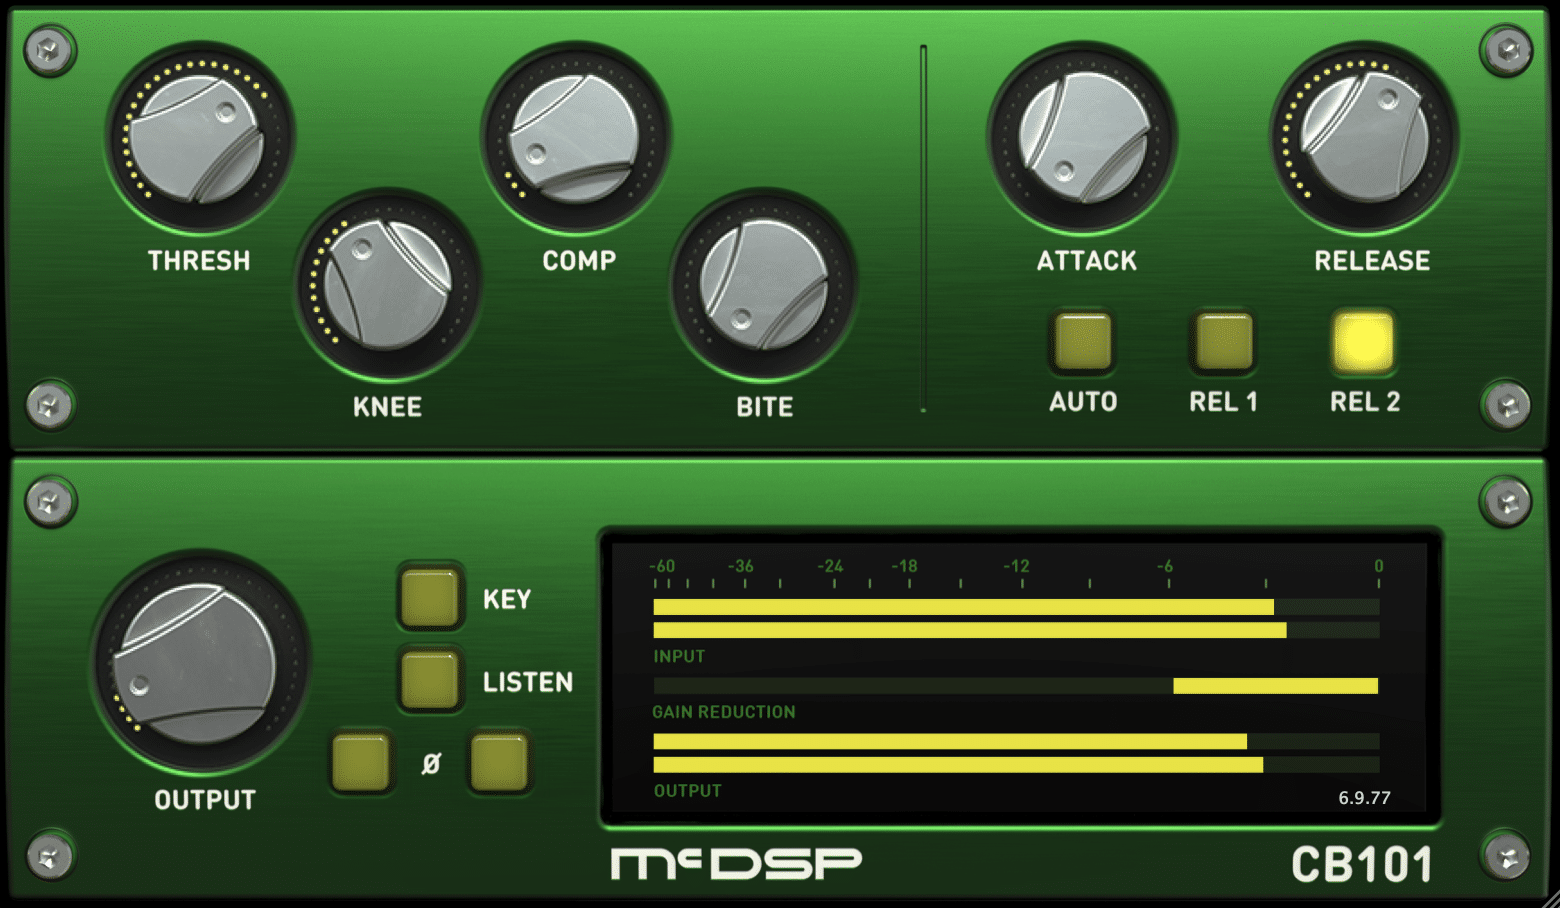
Compressor 1 - Fast Attack and Medium Release
Compressor 2: Movement and Character
For the second compressor, a medium attack time of about 30ms along with a faster release time is usually a good place to start as this is where we’ll be looking to get some character and movement out of our vocal.
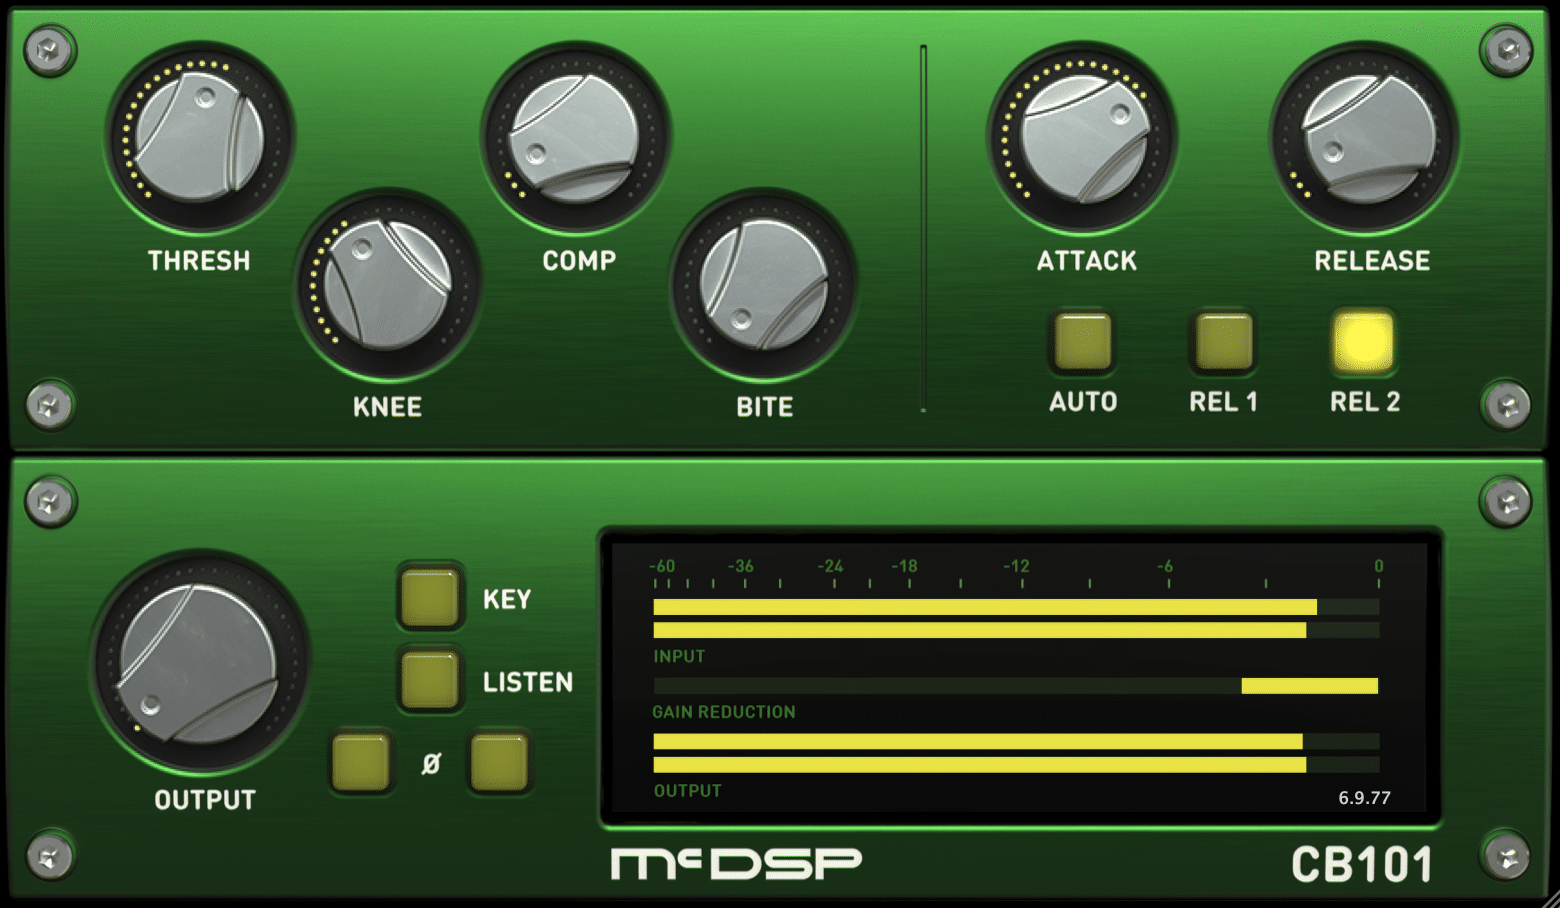
Compressor 2 - Medium/Slow Attack and Fast Release
Keep in mind that, like everything in this post, the order of these compressors is only a suggestion. Many engineers use a similar approach, except they might use their “movement and character” compressor before their more “laid back” compressor. Experiment and see what works for you!
Compressor 3: Limiter (Optional)
Although we originally said that this would be a two-compressor chain, we wanted to throw the idea of a third compressor/limiter in there to try and give you some inspiration!
If the dynamics of your vocal are really close to where you want them but they’re still the tiniest bit too dynamic, try adding a limiter at the end of your signal chain. Don’t have a limiter plug-in? Turn the ratio knob on your compressor all the way up, dial in your attack and release settings to their fastest values, and now you do!
From there, dial in the threshold control and, if you’re using a limiter plug-in, ceiling control until you’re doing a few dB of gain reduction. Be careful not to overdo it, though. A good rule of thumb is to listen for the volume of breathes and see how they compare to the volume of the vocal parts. If breathes are louder than actual singing, you may have gone too far.
The McDSP 6060 Ultimate Module Collection
Want to get a great vocal sound without having to deal with using three plug-ins just to compress your vocal? Look no further than the McDSP 6060 Ultimate Module Collection! The 6060 is great for this application because it incorporates this entire process into one plug-in, even if you want to use three compressors instead of two.
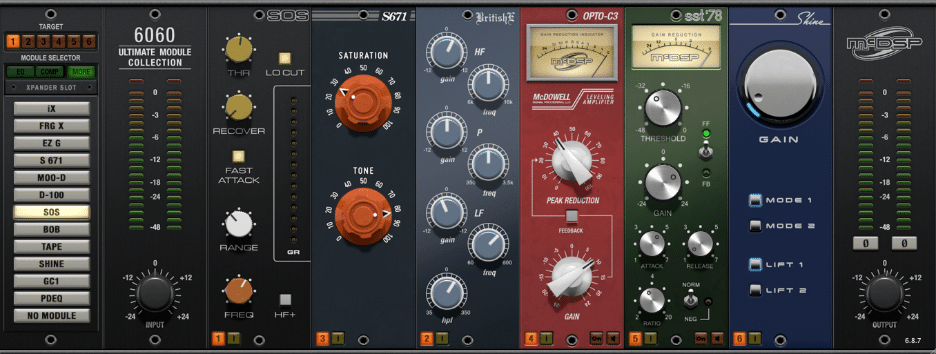
The McDSP 6060 Ultimate Module Collection
Check out the screenshot above to see some settings that’ll help you get on your feet. As an added bonus, you’ll even see some settings for EQ, de-essing, and saturation modules, but the Opto-C3 and SST’78 in slots four and five are the compression modules that relate the most to this post.
In the above screenshot, you’ll notice that we have the two-compressor signal chain that we described earlier. First, the Opto-C3 is reigning in some of the overall dynamics of this vocal, and then the SST’78 is adding a bit more movement and character into the sound.
Check out these audio files to get an idea of the results you can get with the 6060! The first one is a vocal with the 6060 bypassed, while the second one is that same vocal with the 6060 engaged with the same settings as the ones in the screenshot above.
Pay attention to the way that the dynamics in the “Bypassed” clip are significantly more inconsistent than the dynamics in the “Engaged” clip. That said, there are still some dynamics remaining and the vocal isn’t getting too squashed.
Curious about the settings that we used in this example? Check out the 6060 screenshot above!
Artist: Poems of Sorts
Song: Stare
Producer: Julian Worden
Want to check out the 6060 for yourself? Try out a free 14-day, fully functional 6060 Ultimate Module Collection trial
here.As always, we hope you learned something new! Be sure to sign up for our newsletter below to stay up to date on all things McDSP. We’ll see you next time!